Nicholas Palazzo
Well-Known Member
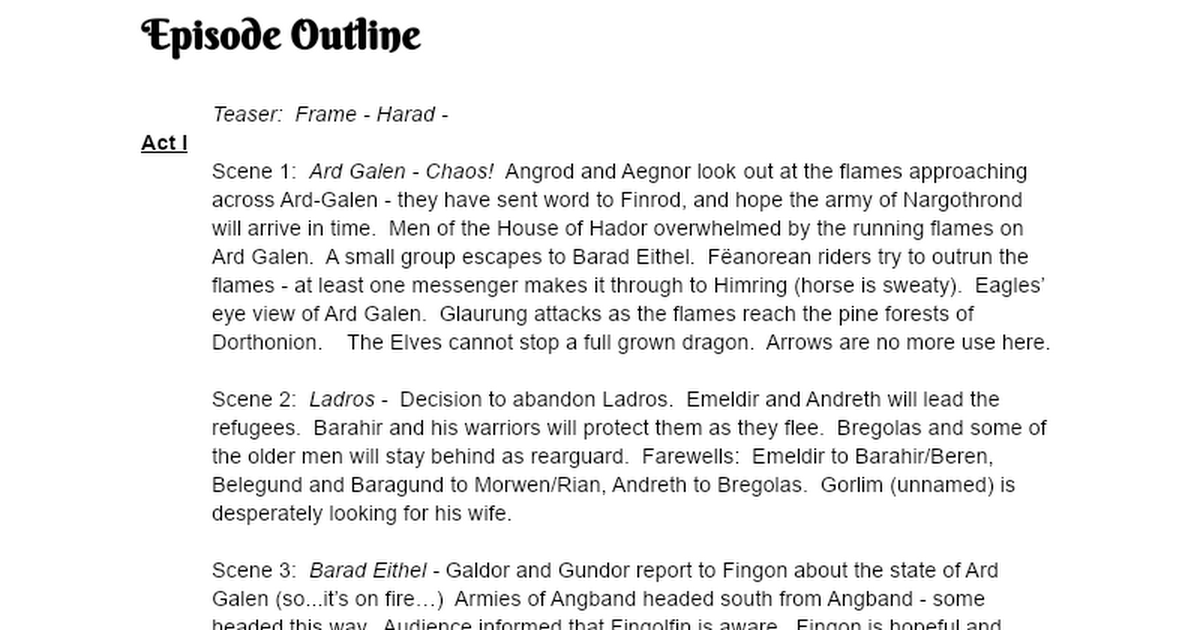
So we're going to be doing something a bit different this time. We're going to be doing episodes 12-13 plus the frame story for episode 11 over the course of three sessions. The next session is going to largely be taken up by working through the structure of the two episodes, and maybe some of the scenes for Episode 12 in detail. I'll include some of the stuff I've posted on the Dagor Bragollach in the past, but some of it was changed per Prof. Olsen during Session ... 16? I'll see if I can dig out what those changes were, but if anyone beats me to it, feel free to post here.
So, I've been working on some stuff to propose to the hosts about the Dagor Bragollach episodes as it seems like they're going to get into it next session.
I've worked out a timeline of the major events and conflicts of the campaign, which I'll link below. This isn't an exhaustive list of what happens, so there are plenty of elements that aren't on there. This is just a visual representation of the major engagements.

Dagor Bragollach Timeline
docs.google.com
I've divided the two episodes into their four acts, giving us eight stages. Most of these stages will include scenes from things other than the engagements going on at the time, but we can work those out later.
First, we have the attack on Dorthonion. This happens very quickly and is over before most of the other plots in the episode really gather steam. Killing major, named characters in the second act of this episode signals to the audience that we're serious. Anyone could die. Avengers: Infinity War has a good example of this, killing two supporting characters (one of whom being the breakout star of the Thor franchise), and defeating two of the most powerful main characters before the titles have even rolled. We'll also get Barahir covering the flight of his people once he realizes that Ladros is indefensible (perhaps he loses a brother or uncle before this happens). Additional notes: The A-Bros are in a particularly bad spot. The Men of Ladros (including the aged Andreth) are evacuating along the back of the Elvish lines. It is possible that Aegnor and Angrod's death result from their inability to withdraw without leaving the humans to die. Also-also, Barahir is probably hiding in the hills south of the Fens of Serech between the overthrow of Dorthonion and the near-capture of Finrod.
While Finrod and Fingolfin rush their armies to the front to respond, the Feanoreans also muster. Celegorm and Curufin are the first to engage, but are thrown back immediately, driven back to the Pass of Aglon, which is then overrun. Maglor's Gap is similarly assaulted, and Maglor is forced to flee.
Fingolfin arrives at Barad Eithel through the pass to find it beseiged from the east. Men of the house of Hador have taken refuge there after fleeing from Ard-Galen. Fingolfin leads a sortie out onto the field and meets with early success before the attack stalls, but as Episode 12 comes to an end, it becomes clear that the forces of Morgoth only sought to delay him, not defeat him. Once Dorthonion is dealt with and Himring surrounded, Morgoth's forces are able to concentrate on driving Fingolfin back to his fortress. By the end of the episode, the forces of Fingolfin are in full rout. By the midpoint of Episode 13, Fingolfin is back at Barad Eithel, which is surrounded. Galdor's men were crucial in their rear guard action, at the cost of many lives, including Galdor's brother.
Caranthir was present at Maglor's Gap, but when it falls, he retreats to Keep Helevorn. This proves fruitless, as it comes under attack early in Episode 13. As it falls around the episode midpoint, Amras shows up to rescue his fleeing brother and they ride to Amon Hen, where Amras' people have taken refuge along with many of the Greenelves.
Near the end of E12, Finrod has reached the front. His forces engage with an army set to keep watch on Minas Tirith. It's quickly evident that they are outmatched. As E13 opens, his army is routed and he, with a small group, are separated. They attempt to make their way to Minas Tirith without being detected.
As Himring is surrounded, the assault upon it begins in earnest at the beginning of Episode 12. The details can be determined later, but by the midpoint of E13, the assault is repelled and Maglor has joined Maedhros at Himring.
Around the midpoint of E13, Finrod's followers are caught by enemies in the fens. His fate seems assured when Barahir's men crash into the Orcs and drive them back enough for Finrod to escape. He has an appointment with Andreth later.
Fingolfin's duel with Morgoth comes after a period of discomfort-inducing quiet. Finrod's conversation with Andreth, Maedhros looking out at the foe-clotted plains below him, Caranthir and Amras reaching Amon Hen with what's left of their followers. All of these elements will help in creating the sense of hope and despair that surrounds that duel.
There are many details I haven't mentioned or even thought about, and many may change after further discussion. But it's important to at least have an idea how the fight plays out if we are going to decide where E12 ends and E13 begins. Essentially, my vote is to make E12 a "To Be Continued" sort of episode, ending in the midst of dire and unresolved conflict.
I also intend to accompany this chart with maps showing everyone's position at each stage of the conflict, so stay tuned.
Hey, so I finally got some time to put together some maps for the above outline. The locations aren't perfect, obviously, and not all of them reflect concurrent positions, but the important points people need to reach/be at at the critical point of the act the map is depicting. And yes, Aegnor and Angrod disappear because they're dead.
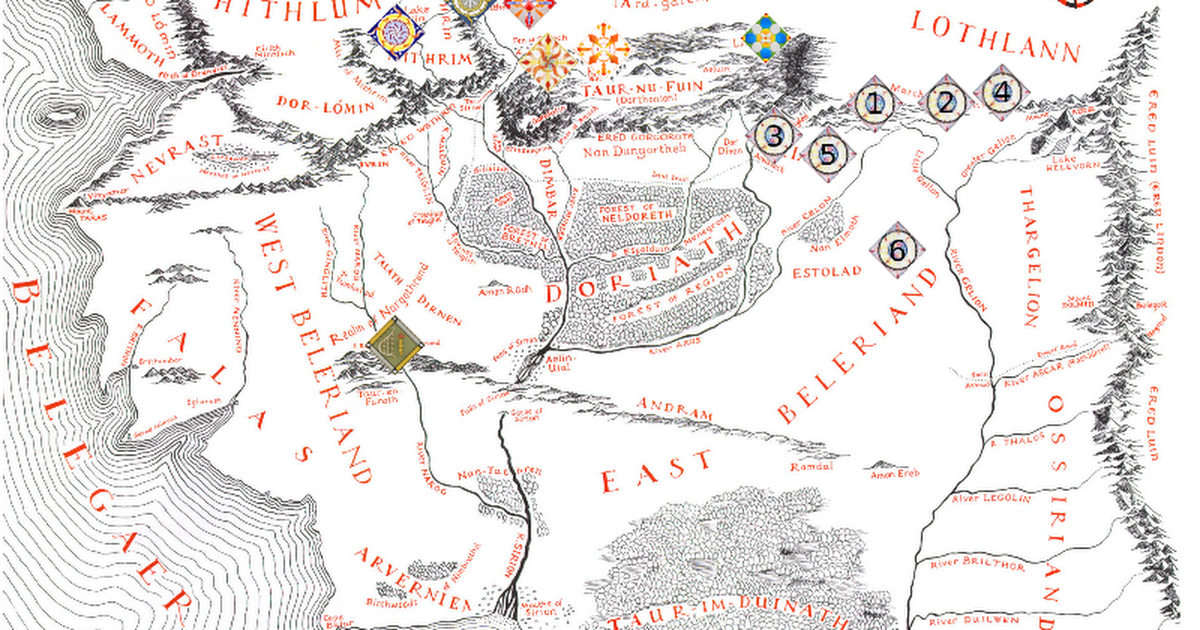
Dagor Bragollach Map Collection
Infantry holding defensive position with cavalry protecting flanks. Dor-lomin skirmishing on the right flank. Cavalry retreats from Left Flank. Fingolfin pushes forward to facilitate a fighting retreat. Infantry and Left Flank fall back. Dor-L...docs.google.com